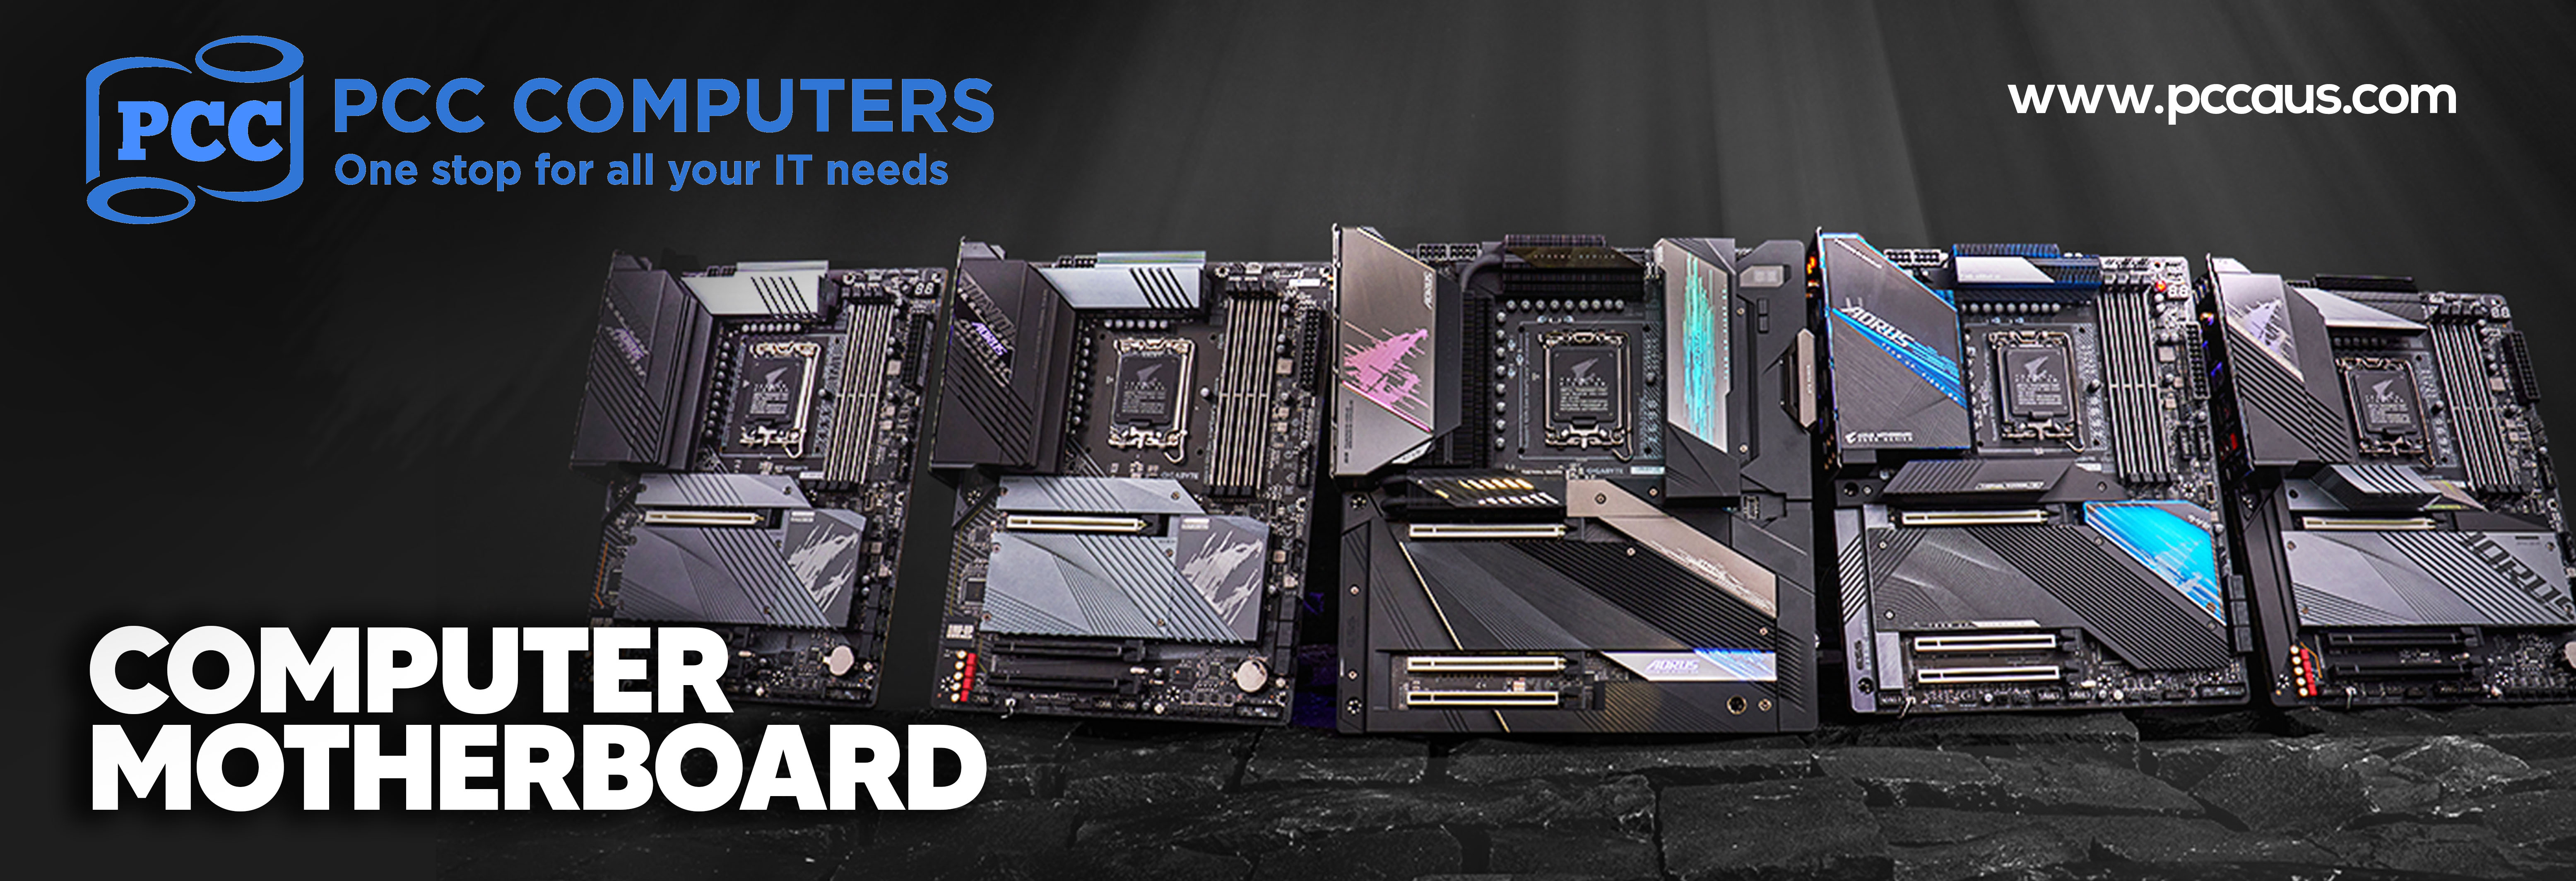
How to Install a Computer Motherboard

How to Install a Computer Motherboard
So, you've decided to take the plunge and upgrade your
computer's motherboard. Congratulations! It's a crucial component that serves
as the backbone of your system, connecting all your hardware and ensuring
smooth operation. But where do you start? Don't worry; we've got you covered.
In this comprehensive guide, we'll walk you through **how to install a computer
motherboard** step by step.
1. Gather Your
Tools
Before you begin, make sure you have all the necessary
tools at hand. You'll typically need a screwdriver, preferably one with a
magnetic tip to prevent losing screws, and an anti-static wrist strap to
protect delicate electronic components from static electricity.
2. Choose a
Suitable Workspace
Find a clean, well-lit area with plenty of space to work
comfortably. Lay down a soft, non-conductive surface like a wooden table or an
anti-static mat to prevent accidental damage to your components.
3. Prepare Your
Computer Case
Start by removing the side panels of your computer case
to gain access to the interior. Place them aside in a safe location. Take note
of any existing components inside the case, as you'll need to work around them
during the installation process.
4. Remove Old
Components (If Necessary)
If you're replacing an existing motherboard, carefully
disconnect all cables and remove any expansion cards, RAM modules, and the CPU
cooler attached to it. Set these components aside for reinstallation later or
replacement if needed.
5. Install the I/O
Shield
The I/O shield, also known as the rear panel or
backplate, is a metal plate with cutouts for various ports on the motherboard.
Insert it into the corresponding cutout on the back of your computer case,
ensuring it snaps into place securely.
6. Prepare the
Motherboard
Carefully unpack your new motherboard and place it on a
flat, static-free surface. Handle it by the edges to avoid touching any
sensitive components. Take a moment to familiarize yourself with its layout and
locate the CPU socket, RAM slots, and expansion slots.
7. Install the CPU
Depending on your motherboard's socket type, follow the
manufacturer's instructions to install the CPU. Lift the socket lever, align
the CPU with the socket, and gently lower it into place. Be sure to match the
CPU's alignment marker with the corresponding notch on the socket.
8. Install the RAM
Insert your RAM modules into the appropriate slots on the
motherboard, applying gentle pressure until they click into place. Refer to
your motherboard's manual to ensure proper installation orientation and
configuration for optimal performance.
9. Mount the
Motherboard
Carefully align the motherboard's mounting holes with the
standoffs pre-installed in your computer case. Once aligned, secure the
motherboard to the case using screws provided with your case or motherboard. Be
sure not to overtighten the screws to avoid damaging the motherboard.
10. Connect Power
and Cables
Attach the main power connector from your power supply
unit (PSU) to the motherboard, as well as any additional power connectors
required by your CPU or graphics card. Connect front panel connectors, USB
headers, audio connectors, and any other cables necessary for your setup.
Conclusion
And there you have it! By following these steps, you've
successfully installed a new motherboard in your computer. Take your time,
double-check your connections, and don't hesitate to consult your motherboard's
manual or seek assistance if needed. With your new motherboard in place, you're
ready to power up your system and enjoy improved performance and reliability.
Happy computing!


